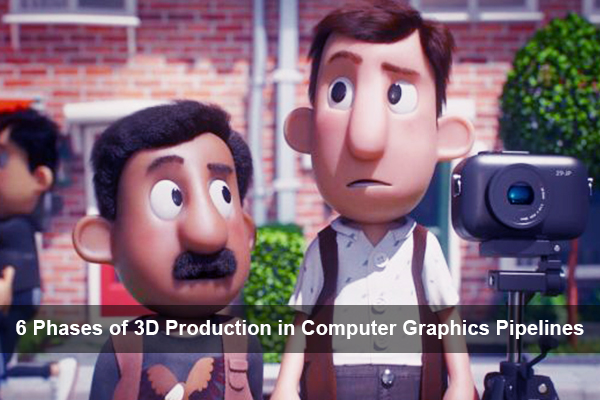
6 Phases of 3D Production in Computer Graphics Pipelines
Computer Graphics Pipelines
Industry professionals know the process that goes into the production of a thoroughly realized 3D animation movie character or environment as the “computer graphics pipelines.” Even though the process is pretty complex form a technical viewpoint, it’s very easy to understand when illustrated sequentially.
In order to take an animated character from an idea or storyboard drawing to a fully polished 3D rendering, the character passes through the 6 major phases of 3D Production in Computer Graphics Pipelines:
- 6 Phases of 3D Production
- Pre-production
- 3D Modeling
- Shading and Texturing
- Lighting
- Animation
- Rendering and Post-production
- 6 Phases of 3D Production in Computer Graphics Pipelines
1. Pre-Production
In pre-production, the overall look of a character or environment is designed. At the end of pre-production, finalized design sheets will be sent to the modelling team to be developed.
- Each Idea Counts: Dozens or even hundreds of drawings and paintings are created and reviewed on a daily basis by the producers, director and art leads.
- Color Palette: A character’s color scheme, or color palette, is developed in this phase, but usually not finalized until later in the process.
- Concept Artists may work with digital sculptors to produce preliminary digital mock-ups for promising designs.
- Character Details are finalized, and special challenges are sent off to research and development.
2. 3D Modeling
With the look of the character finalized the plan is now passed into the hands of 3D modellers.
The position of a modeler is to take a two-dimensional piece of concept art and translate it into a 3D model that can be given to the animators later on down the road.
There are two primary techniques in the modeler’s toolset: polygonal modelling and digital sculpting.
1. Polygonal Modelling
Each has its unique strengths and weaknesses, and despite being vastly different, the two approaches are entirely complementary.
2. Digital Sculpting
Sculpting lends itself more to organic (character) models, while polygonal modeling is more suited for mechanical/architectural models.
3. Shading and Texturing
The next step in the visual effect pipeline is the shading and texturing. In this phase, textures, materials, and colors are added to the 3D model.
- Every component of the model receives a different shader-material to give it a decent look.
- Realistic Materials: If the object is made of plastic, it will be given a reflective, glossy shader. If it is made of glass, then the material will be partially transparent and refract the light like real-world glass.
- Textures and colors are added by either projecting a two-dimensional image onto the model or by painting directly on the surface of the model as if it were a canvas. It is accomplished with special software.
4. Lighting
For 3D scenes to come to life, digital lights must be placed in the scene to illuminate the models, exactly as lighting rigs on a movie set would illuminate the actors. It is probably the second most technical phase of the production pipeline, but there’s still a good deal of artistry involved.
- Proper lighting must be realistic enough to be believable, but dramatic enough to convey the director intended mood.
- Mood Matters: Lighting specialists have as much, or even more control than the texture painters when it comes to a shot’s color scheme, mood, and overall atmosphere.
- There is the great amount of communication between lighting and texture artists. These both departments work closely together to ensure the material and lights fit together properly and that shadows and reflections look as convincing as possible.
5. Animation
The animation is the production phase where artists breathe life and motion into their characters. Animation technique for 3D films is quite different than the traditional hand-drawn animation, sharing much more common ground with stop-motion techniques:
- Rigged for Motion: 3D character is controlled using a virtual skeleton or rig that allows an animator to control the model arms, legs, facial expressions and posture.
- Pose-to-Pose: Animation is typically completed pose-to-pose. In other words, an animator will set a “key-frame” for both the starting and finishing pose of action, and then tweak everything in between so that the motion is fluid and properly timed.
Jump over to our computer animation companion site for extensive coverage of the topic.
6. Rendering and Post-Production
The final production phase for a 3D scene is known as rendering, which essentially refers to the translation of a 3D scene to a finalized two-dimensional image. In the rendering phase, all the computations that cannot be done by your computer in real-time must be performed.
It includes, but is hardly limited to the following:
- Finalizing Lighting: Shadows and reflections must be computed.
- Special Effects: It is typically when effects like depth-of-field blurring, smoke, fog and explosions would be integrated into the scene.
- Post-Processing: If brightness, color, or contrast needs to be tweaked, these changes would be completed in image manipulation software following render time.
To learn this process in depth and on high-level one should join our animation training institute. It is one of the best institutes in Ahmedabad which imparts advanced animation courses.
Kshitij Vivan offers career courses in Animation, VFX, graphics, and web designing & gaming for students from different cities such as Ahmedabad. KSHITIJ VIVAN helps these students get the best job placements according to their skills and talents to get the best start to their Professional Careers.


